Quick start
This is the shortest path. Each step has its own page if you need the detail.
1. Sign up
Open console.nexgpu.net and click "Don't have an account? Sign up".
Register with an email, collect the verification code, and set a password of at least 8 characters. Fill in a referral code if you have one; leave it blank otherwise.
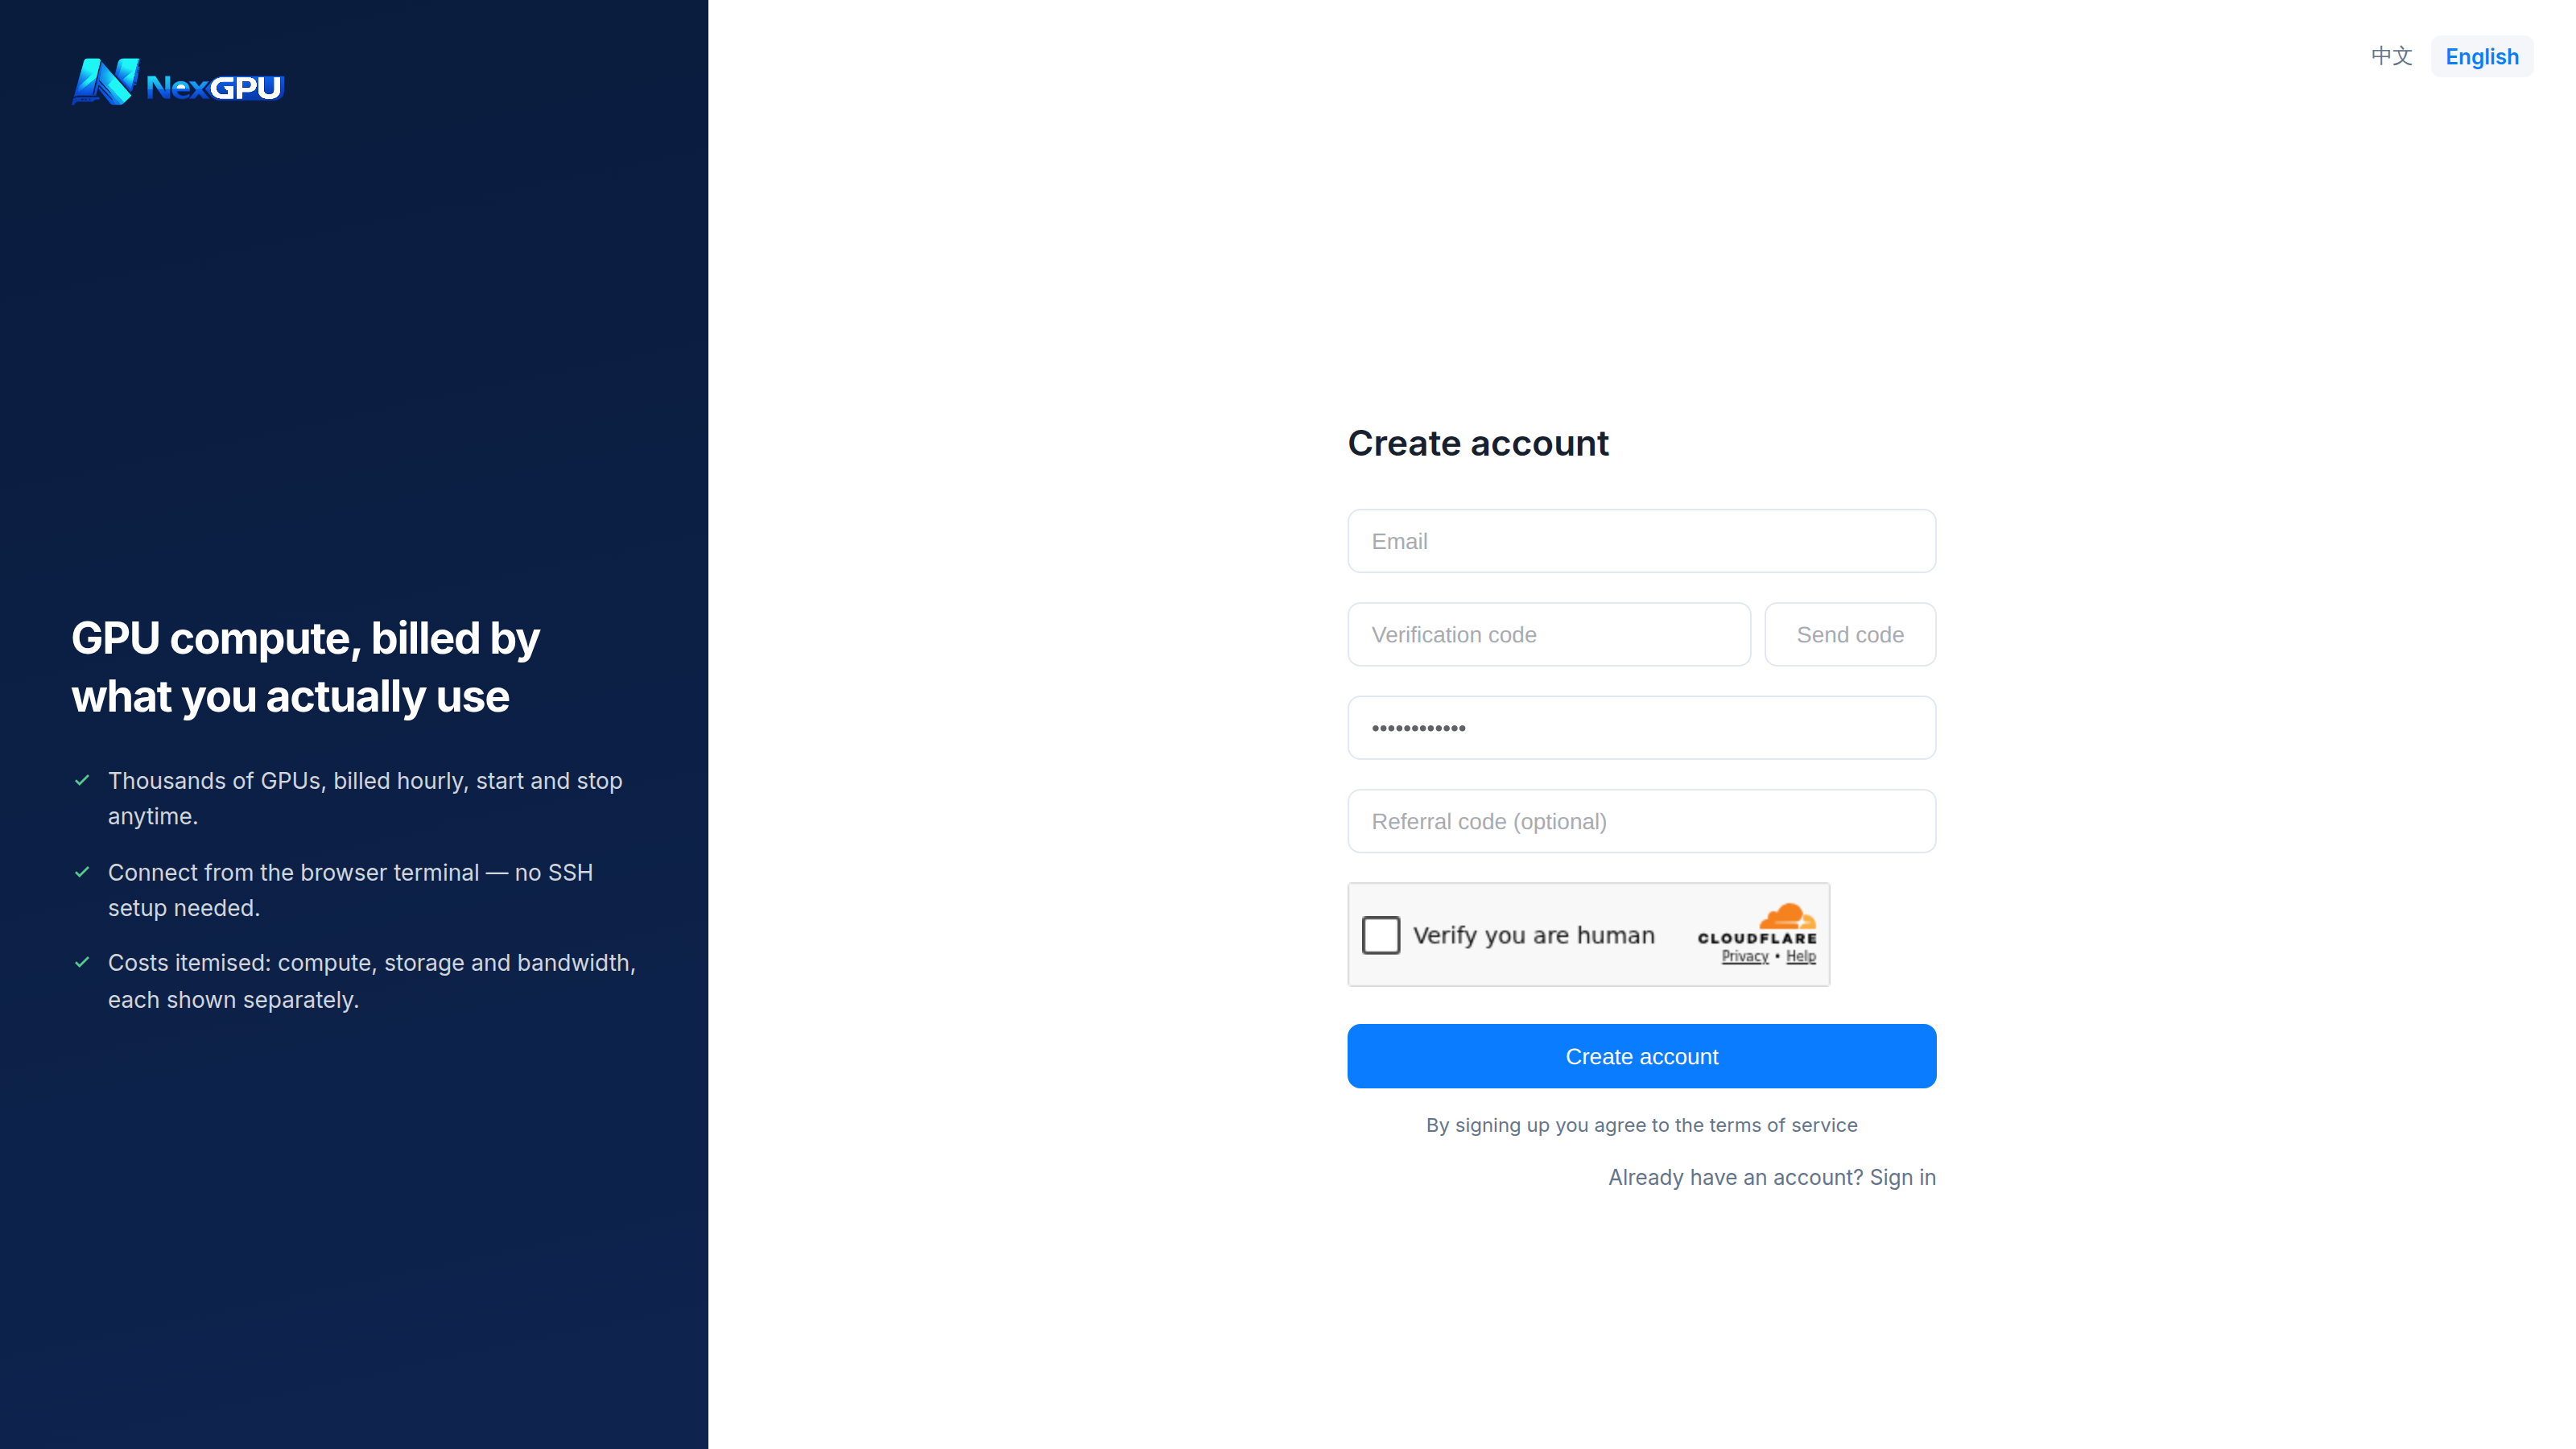
See Sign up and sign in.
2. Top up
"Top up" in the left menu. Two methods: USDT (TRC20) and Alipay.
A little goes a long way — an entry-tier card is under ten cents an hour, so $5 runs for a while.
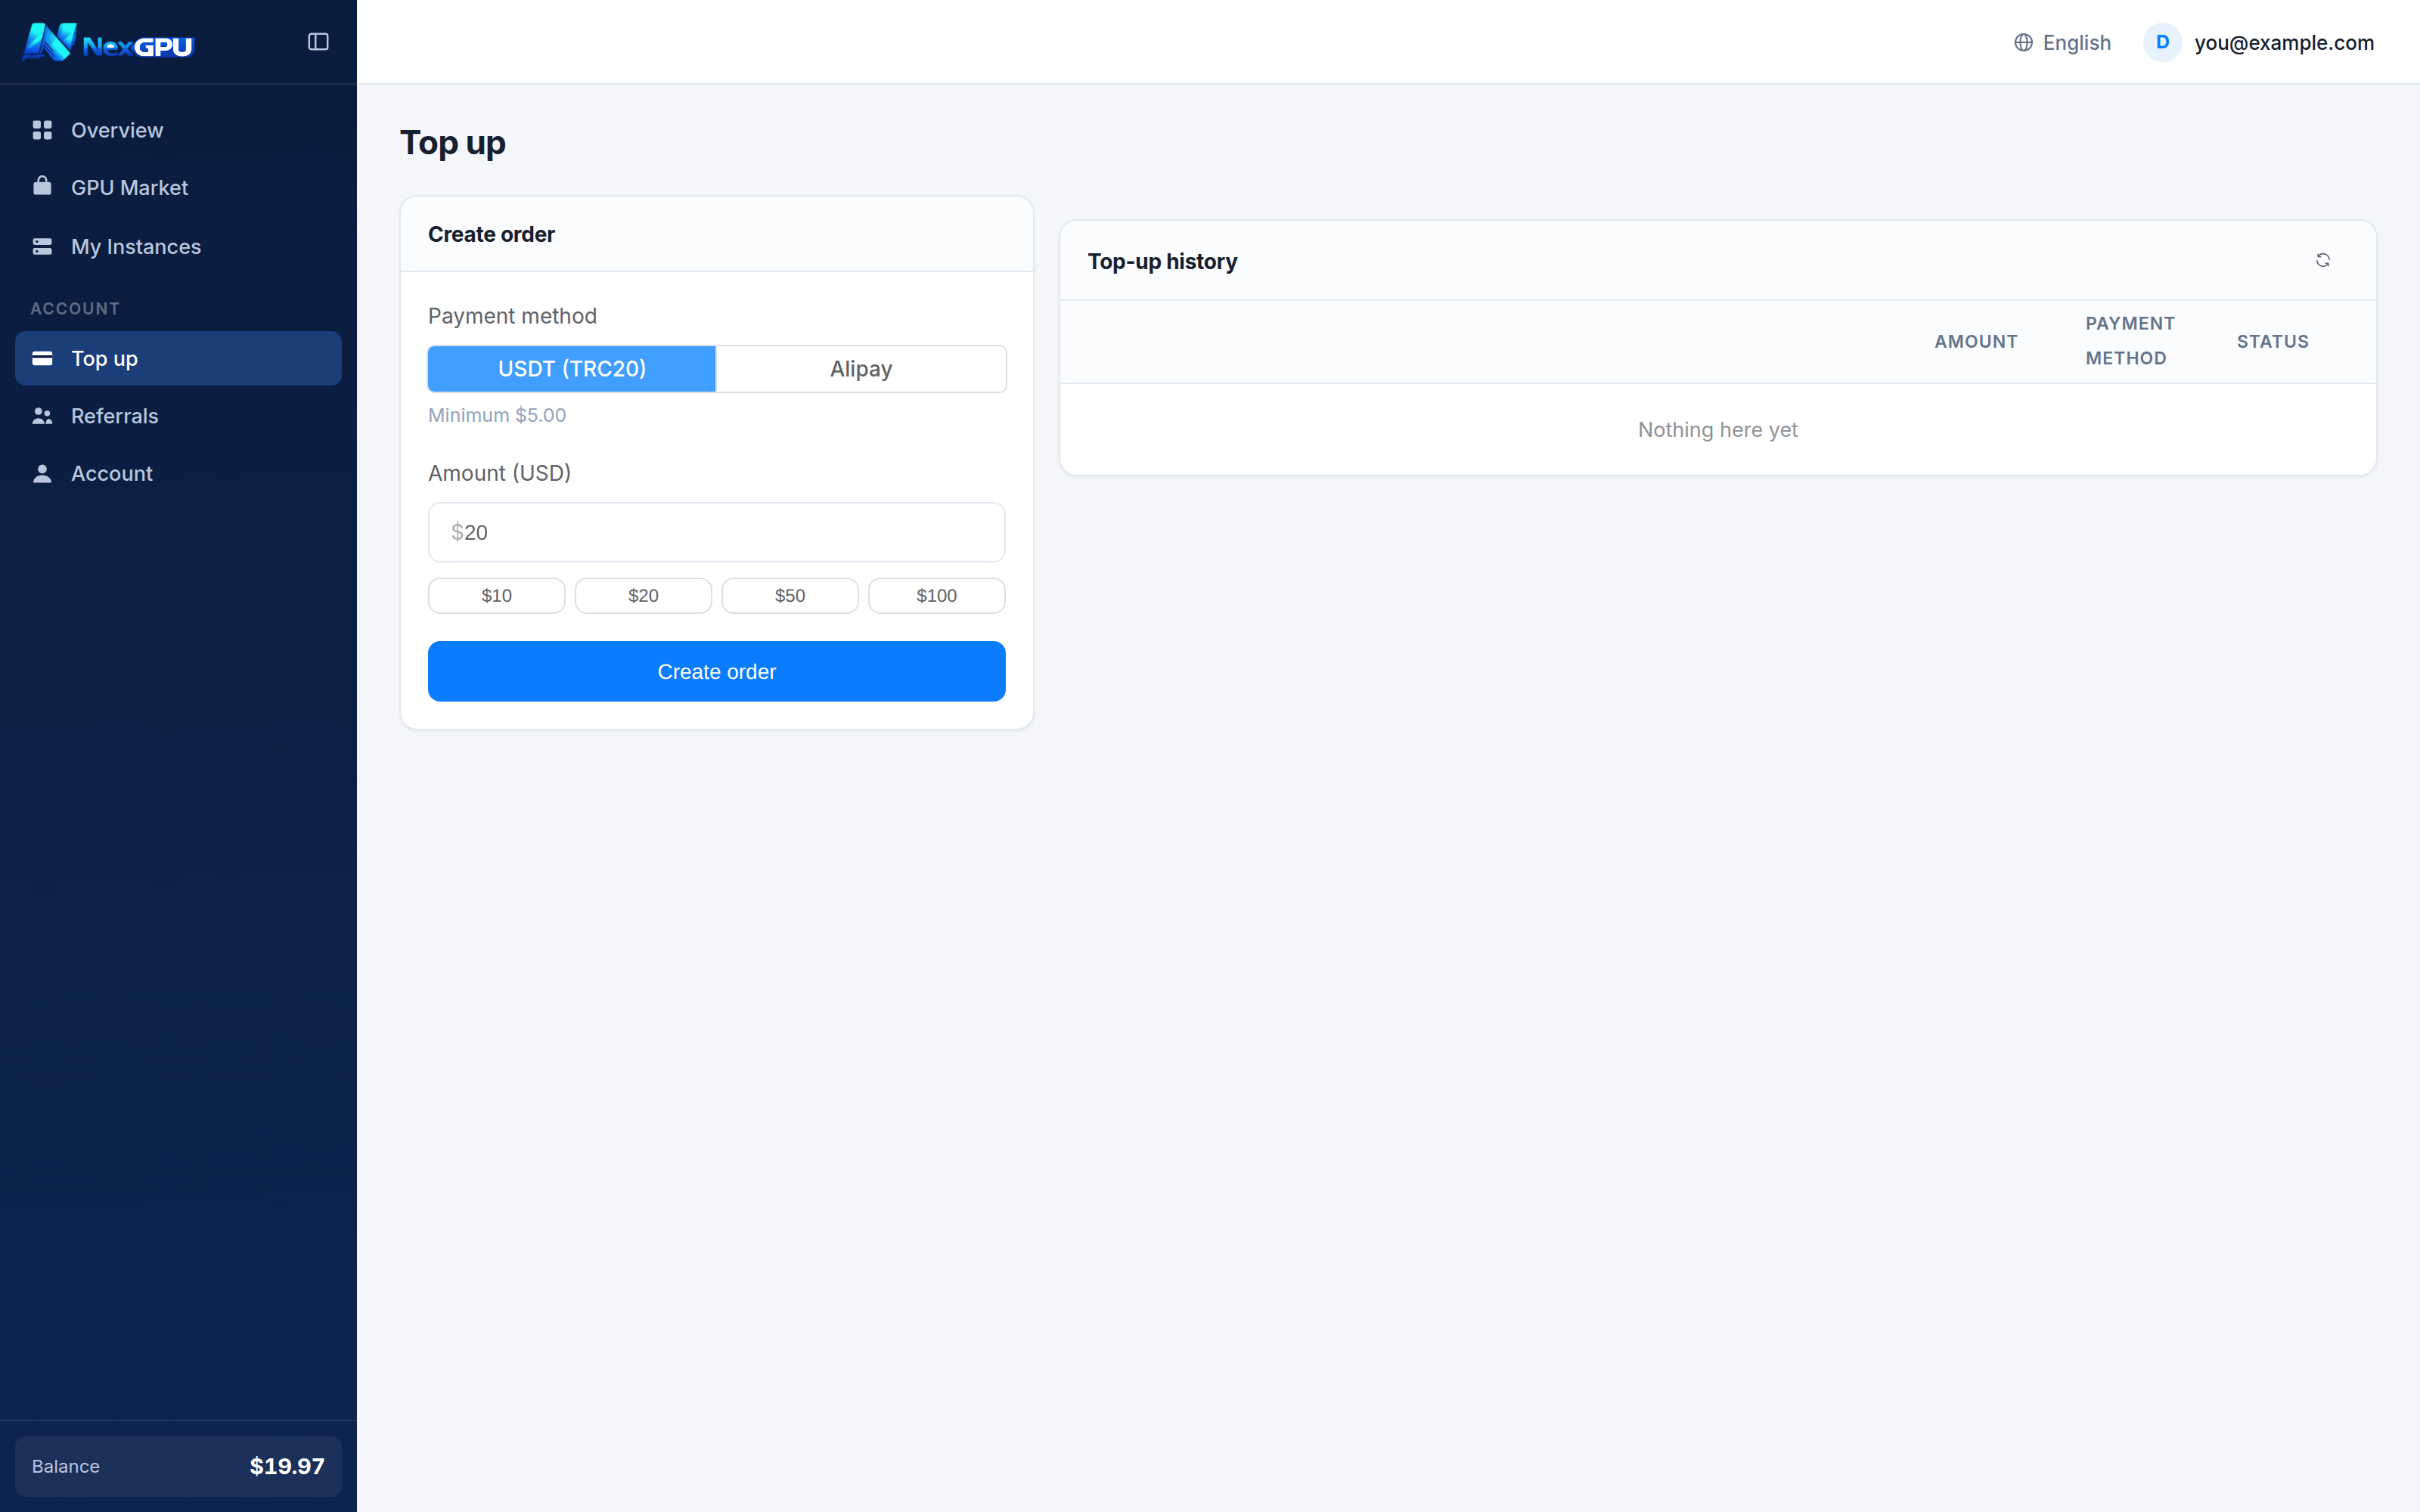
See Top up.
3. Pick a machine
Open "GPU Market". The list is sorted cheapest first, and every row is a real rentable machine.
Two numbers matter most:
- VRAM (the
8GB/24GBunder the model name) — decides whether your model runs at all - Price (
$0.0943/houron the right) — what you actually pay, exactly as shown
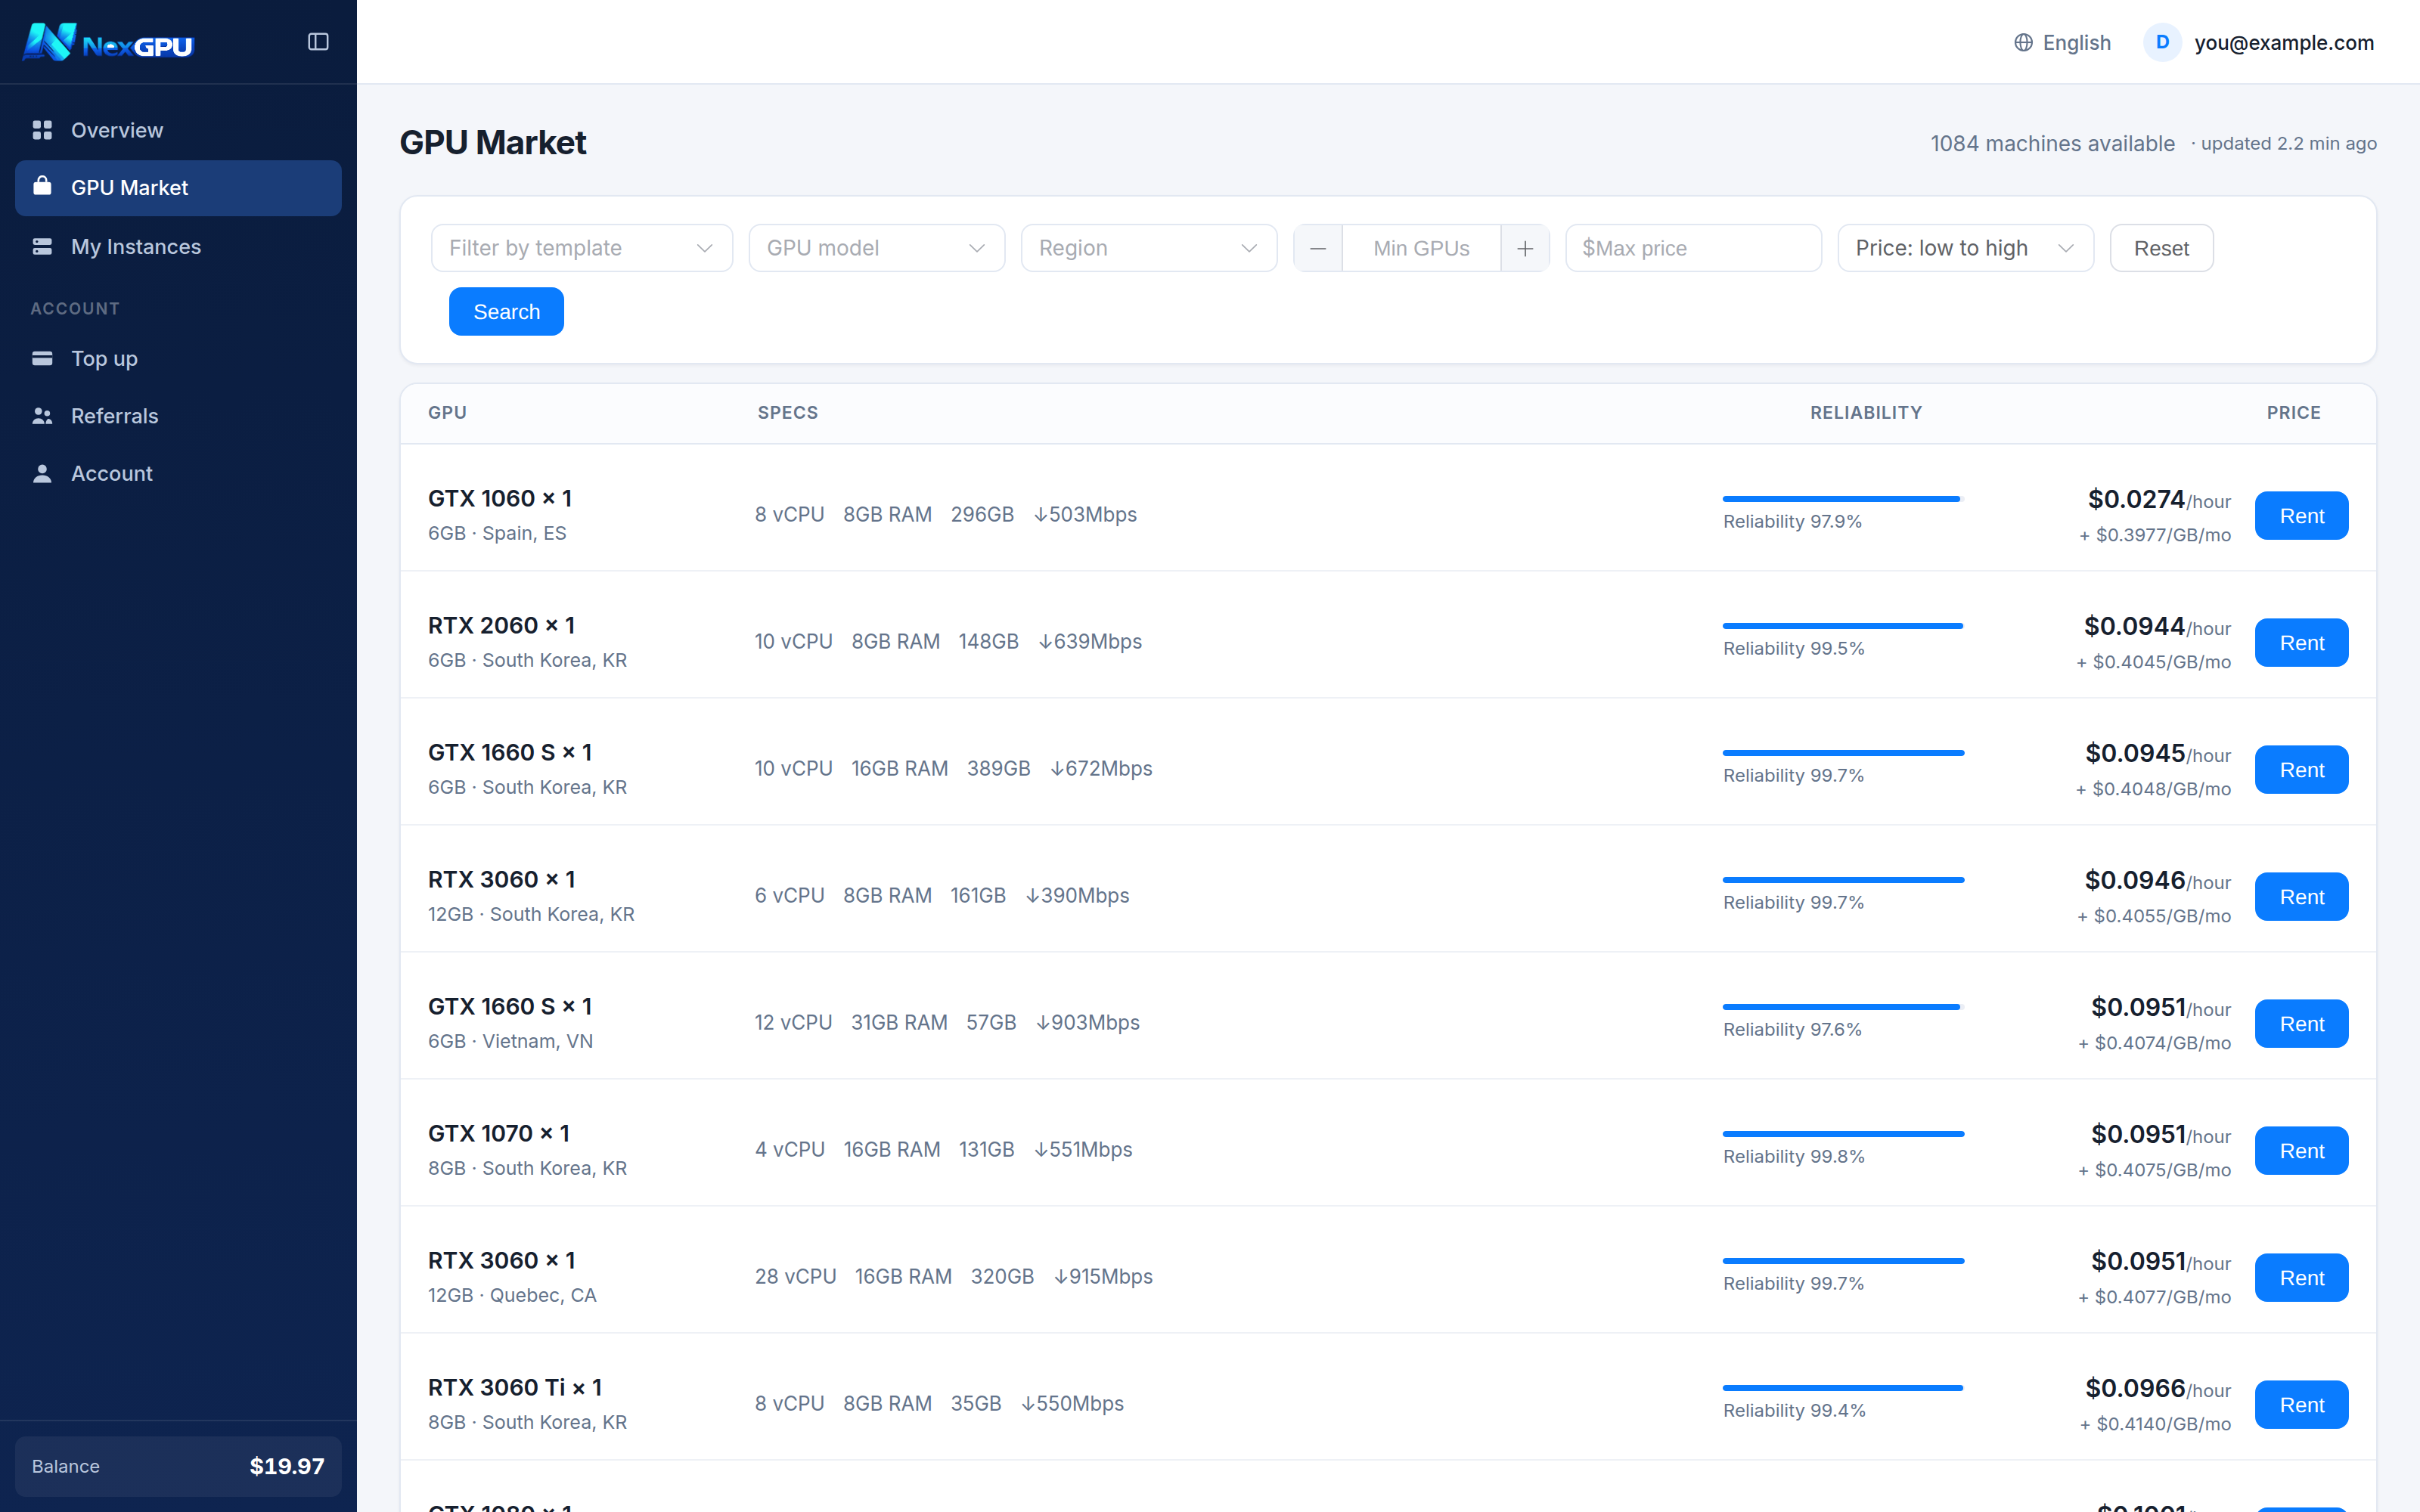
Not sure how much VRAM you need? See the table in Choosing a GPU.
4. Choose an environment and boot
Click "Rent" on a row and a drawer slides in from the right with six sections:
- Selected machine — confirm it is the one you wanted
- Environment — PyTorch, ComfyUI, Ollama and so on
- Disk — follow the environment's suggestion, more if your weights are large
- Network — always public direct connection; nothing to change
- Advanced — name the instance so you can recognise it later
- Cost estimate — what it costs running, and what it costs stopped
Then click "Confirm".
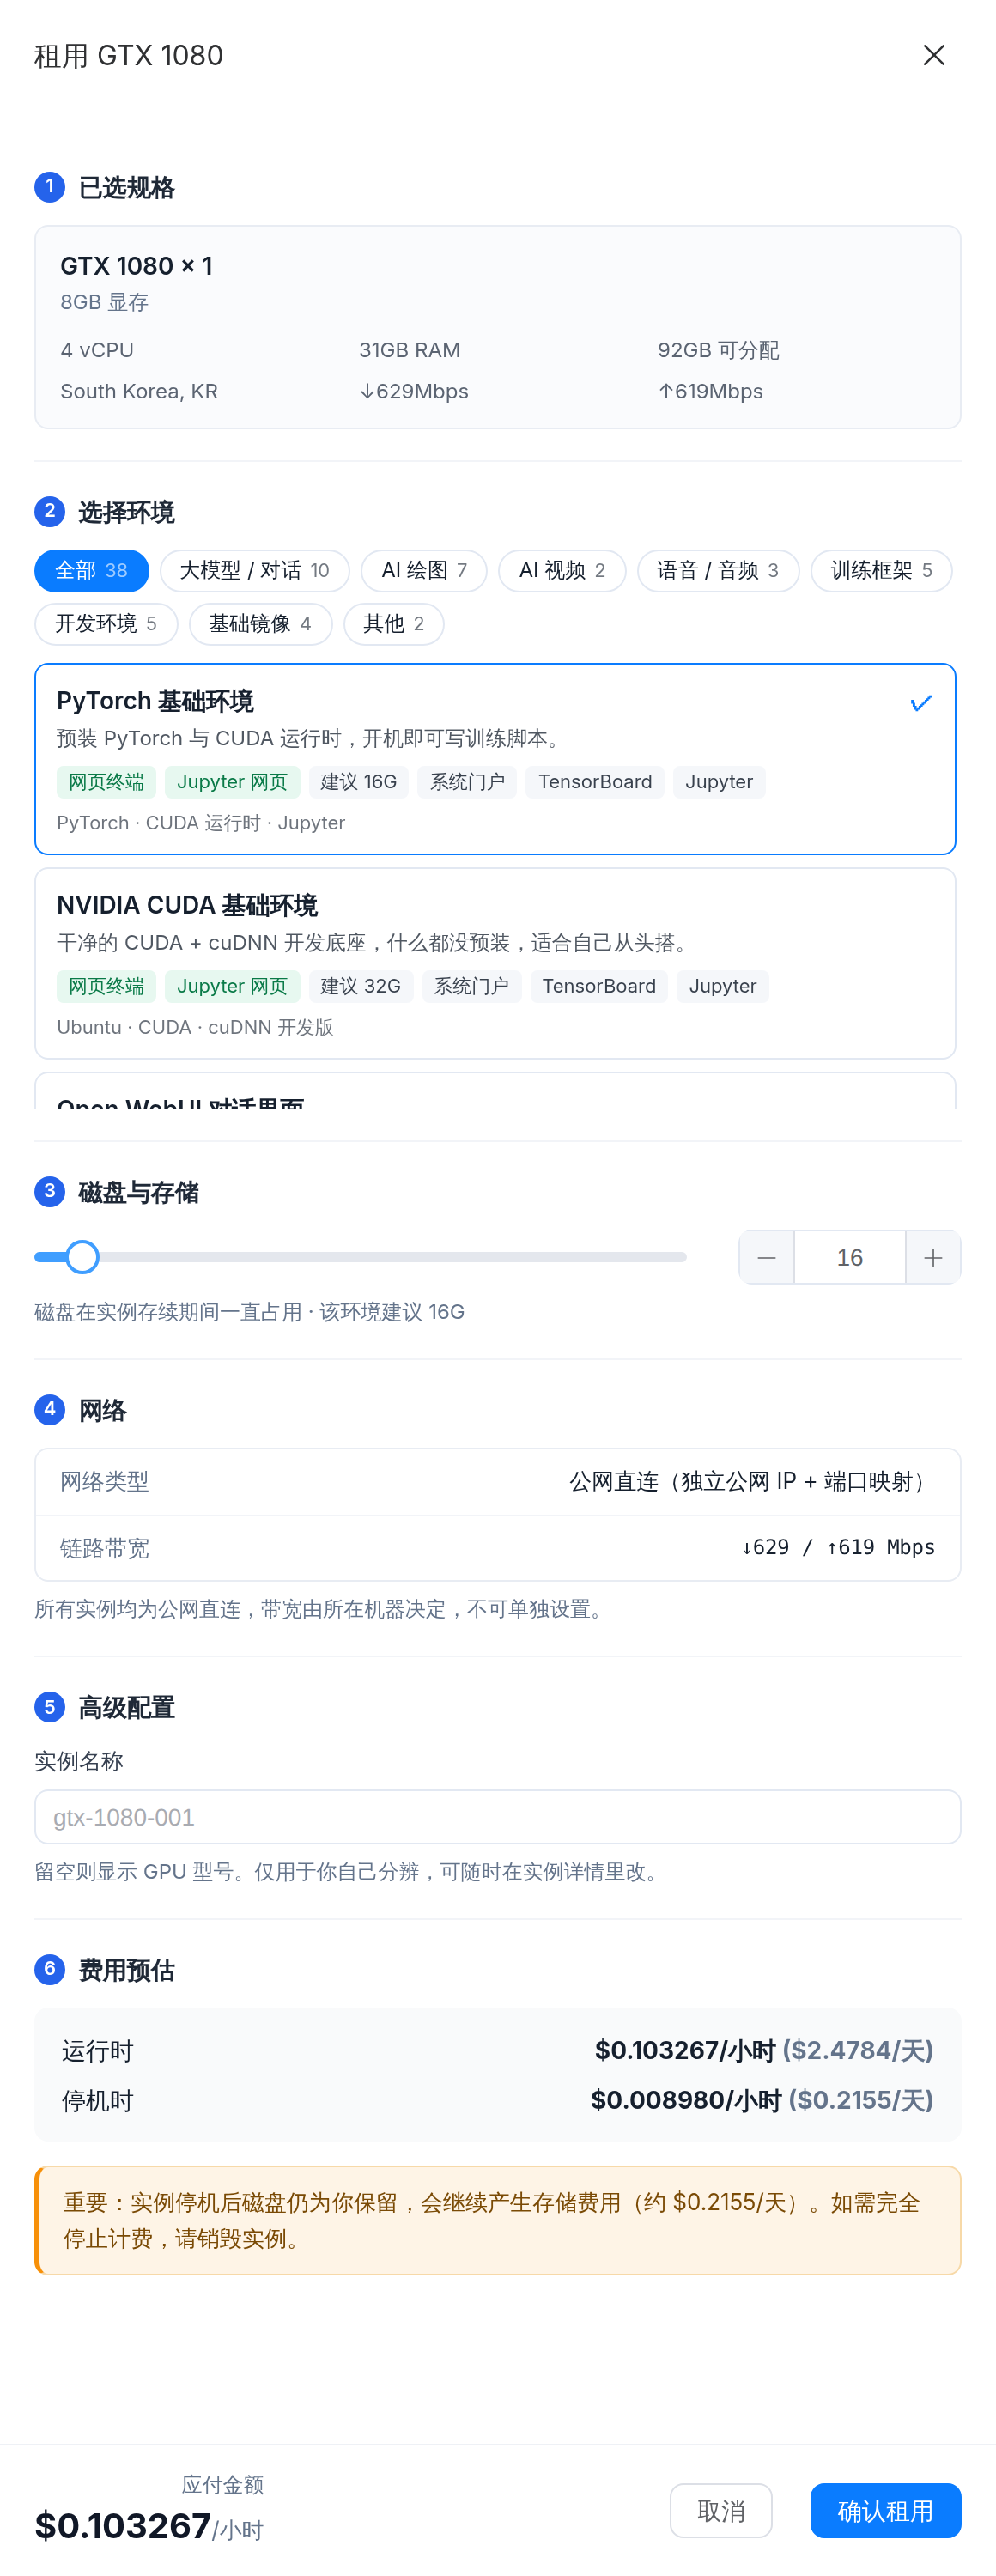
:::info Read the amber note at the bottom of the drawer It tells you what this instance costs per day after you stop it. That is not a scare tactic — it is why you should destroy instances you are finished with rather than just stopping them. :::
See Creating an instance.
5. Wait for it to boot
Back on "My Instances" you will see it move through Scheduling → Preparing → Booting → Running.
First boot is usually one to three minutes; larger images or an uncached machine take longer.
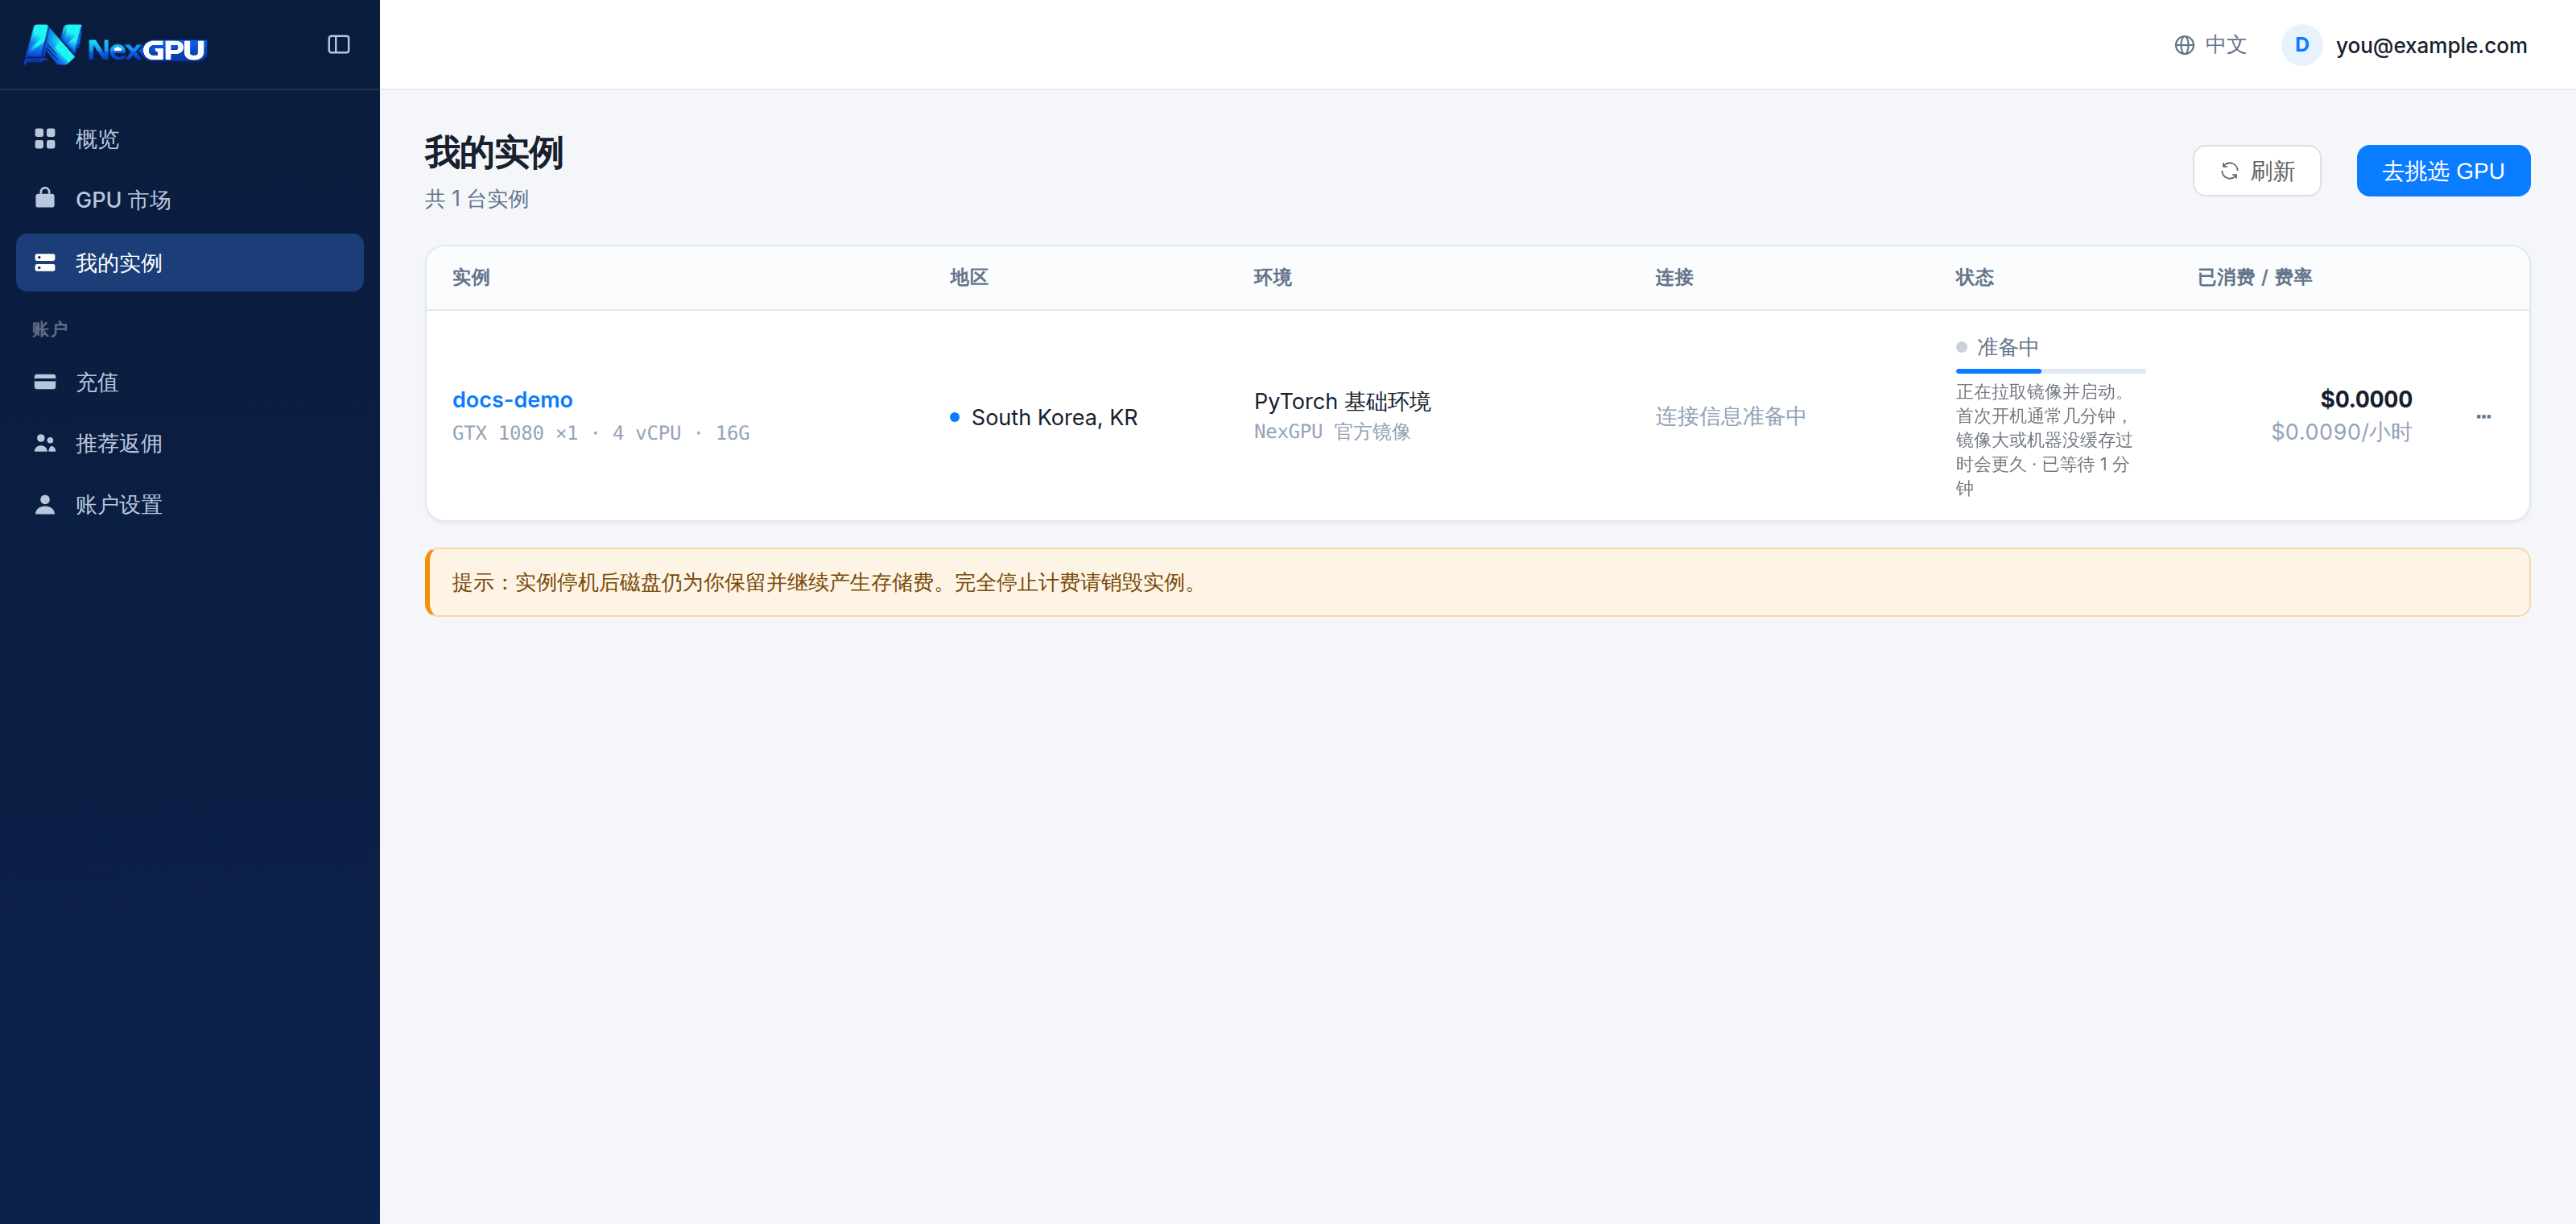
6. Connect
Once it says Running, click the instance name and open the "Connect" tab. Three options:
- Terminal — a root shell in your browser, nothing to install
- SSH — download the key and paste the command shown
- Jupyter — one click if the environment ships it
See Connecting.
7. Destroy it when you are done
Do not skip this. Click Destroy and type the instance number to confirm.
Merely stopping keeps the disk, and the disk keeps billing.
For the detail on each step, start at Sign up and sign in.